First winter photo-trip in the vulcanic range of Yatsugatake. What to plan? What gear to bring?
This was probably my fifteenth visit to this mountain range, the tenth time in winter. I like to go to Yatsugatake for several reasons; First reason is the accessibility of the place. "Yatsu" is just two hours from Tokyo by express train (and a bus). Any other site like north alps, most of the southern Alps, and Chuo alps will require at least three to four hours commute by public transportation. Second reason: Yatsu is the place where I started experimenting with winter camping. Followed by winter mountaineering and the two things combined (camping in winter to climb a technical route on the mountain). The third reason is that I know the area pretty well. I don't need maps or GPS for orientation cause I memorized the trails, the timetables of public transportation. Also, I'm closer with the staff working in two of the main huts, and receive free beer most of the time (basically a second home).
Moreover, I feel I can push my comfort zone as a climber and gain experience.
What I didn't have a chance to do before was going with the primary purpose of taking pictures. So far, every time I go to Yatsu, I carry a pretty heavy backpack, loaded with camping and climbing gear.
Usually, the minimum piece of gear I need to camp for two nights in winter are:
a tent, a sleeping bag, a sleeping mat, jetboil (camping stove), food, cookware, the necessary winter clothing system, a small shovel, essential camping gear like a soft bottle, and headlamp. Then I need the necessary winter mountain gear like crampons, Ice-axe, helmet, ski goggles, set of gloves. If the goal is to climb a variation route (technical alpine route), I will also have a 60m rope, harness, climbing gear such as nuts, cams, ice screws, slings (or draws), etc. The average weight of this backpack is between 14kg and 20kg, depending on how many days I intend to stay and which route we climb. Adding more kilograms by bringing a camera system like a body and a couple of lenses (plus batteries) was never taken into consideration before.

About 14kgI've started bringing a small Ricoh GR, then a GoPro. I realized that: taking pictures with a camera, framing, adjust the aperture while you are belaying your partner (or while you are lead climbing) is not very safe.
Although taking pictures with the smartphone will give frustrating outcomes. GoPro is the right solution but very limited to ultrawide (and not very handy since its a camera created for video). The only way for me is to bring my Fujifilm X-T2 with me and be prepared for any condition.
To "be prepared," I need to prepare. That means I first need to start taking pictures of the Yatsu area, understand the light, time of sunsets/sunrises, best spots, most dramatic angles. In other words, I want to master the landscape of the area.
So I had the idea to go by myself with the primary purpose of taking some landscape photographs of the range. This report will highlight everything that went wrong, that I unpredicted, that I failed.
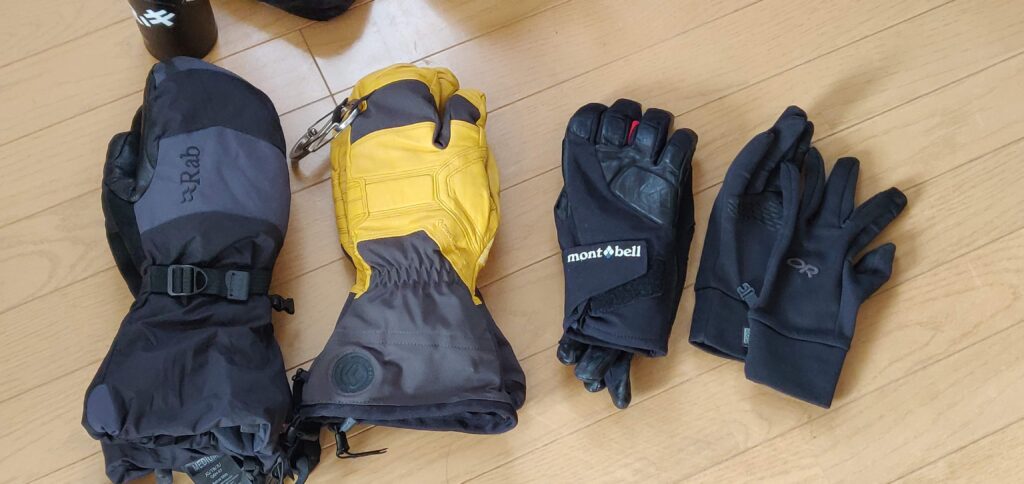
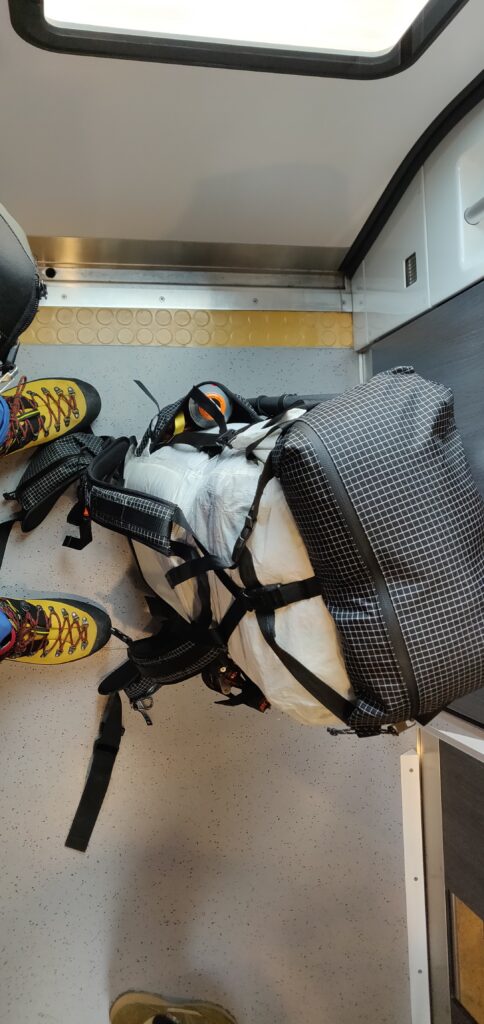
My selection of gloves for this tripThe part I enjoy most of going to multiple days trekking in winter (but also in summer) is the meticulous preparation I start a few days ahead, buying the food, checking all the gear is clean and unbroken, crampons and ice axe are sharp. I usually make my backpack the night before since the morning I'm supposed to leave the house very early. I usually toss everything on the floor of my living room instead of loading the backpack directly, it helps me to have a feeling of how much stuff I'm gonna carry and start defining what to leave home.
For this trip I considered bringing my new carbon fiber tripod (1.2 kg) but looking at the weather conditions and the presence of strong wind, I decided to leave it home. I'll eventually find out being a lucky choice since the wind on the ridge didn't even allow me to stand properly, a tripod would have been an unnecessary pain.
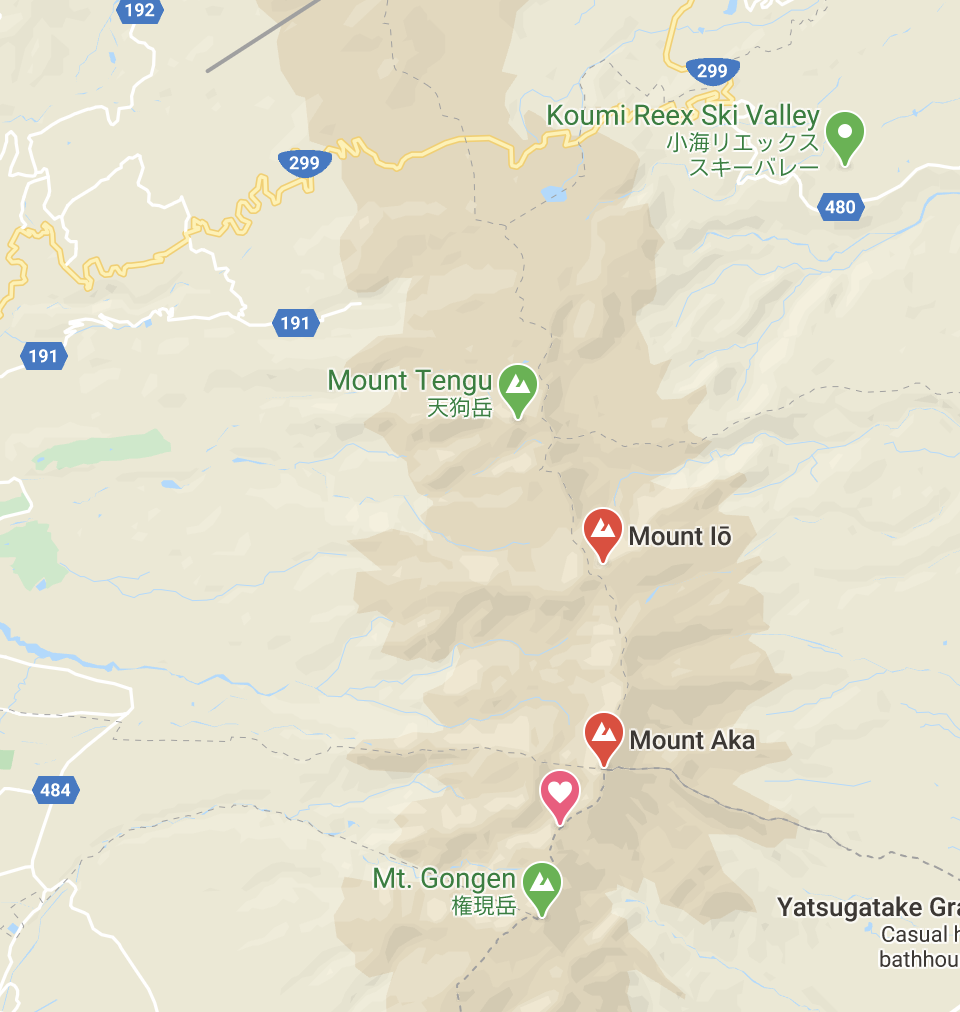
Since Yatsu is easy accessible by public transportation, I never even considered going there with car except for few rare cases. To get there you need to get on the Azusa express with Chuo Line, in direction of Matsumoto. The arrival station for Yatsu is Chino (茅野). Although, in case somebody wanna go on the south extremity of Yatsu and climb the Gongendake the arrival station is Kobuchizawa.
Getting in Chino after about 2 hours train is painless. Outside the station, there is the Alpico bus, the one I take to get in Akadake-side of Yatsu is the one for Minotoguchi (美濃戸口). The ticket can be paid directly to the driver.
This time the trailhead was completely covered in snow, and I noticed more snow in general, compared with my last trip at the beginning of February.
The trail to the camping spot outside Akadake Kousen feels always longer than what it really is, also the weather wasn't that good yet. Classical greyish/whiteish atmosphere, no shadows, very flat. Not really worth any picture. Also, my goal was to get to the camping spot quickly and place my tent in order to move forward for the photo-spot I had in mind.
After 2-3 hours trekking I managed to find a spot in the already crowded area, the three days long weekend probably won't really help my plan of "social distancing".
After placing the tent and boil some water I wear my crampons and start walking towards the Daidoushin (大同心).
The Daidoshin is a big pinnacle, part of Mount Yoko, a peak accessible through the normal route, coming from the south (from mt. Aka) or north (from mt. Io). The pinnacle itself is the protagonist of few famous technical routes of Yatsugatake, although climbing it means ascending directly from a variation route that starts right from the Akadake kousen hut.
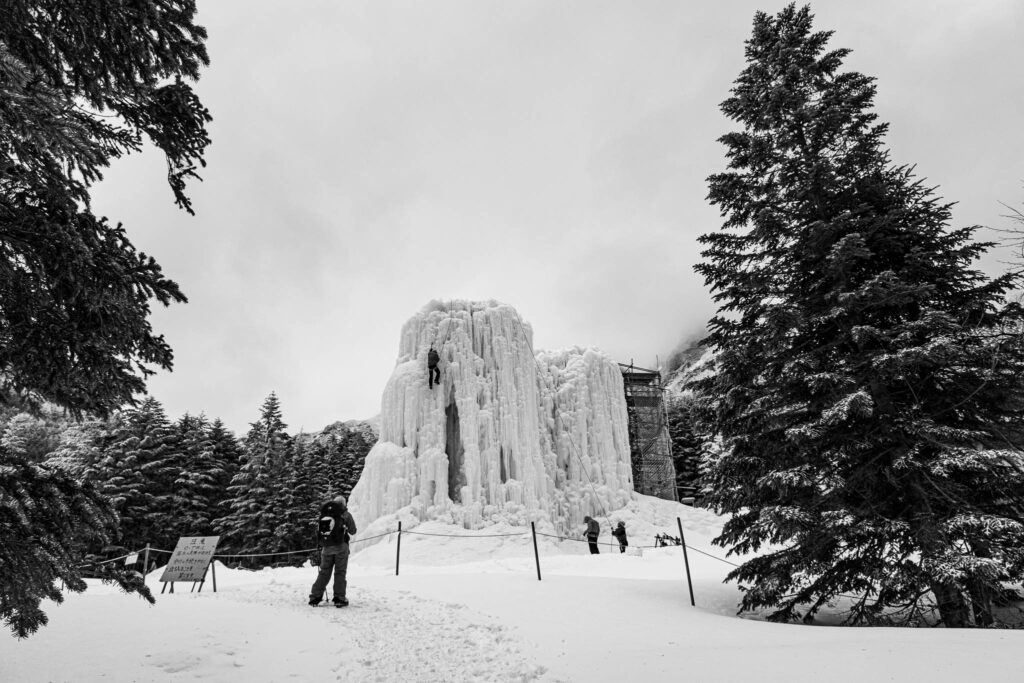
Arriving at Kousen Hut with Flat White weatherI had the chance to climb twice another pinnacle right beside the Daidoshin, the Shoudoshin Crack (小同心クラック), where the access route matches the Daidoshin one. Even though the approach to the area below the Daidoshin isn't a technical terrain (technicalities starts with the climb where you need to gear up), the access is outside the standard and "safer" routes. Getting up requires a little bit more prudence than what would require going up to mt. Aka. After quite strenuous trekking up to the untraced route, I found few very icy sections that required a few crampons axe effort to achieve. As soon as I got at the base of Daidoshin the weather changed into a complete whiteout. The wind got stronger and the effort to traverse from Daidoushin to Shoudoshin become more than what I was looking forward to having that day. My original plan was to reach the base of Shoudoshin to get a wide panorama shot of the overall valley.
I decided to get down announcing defeat.
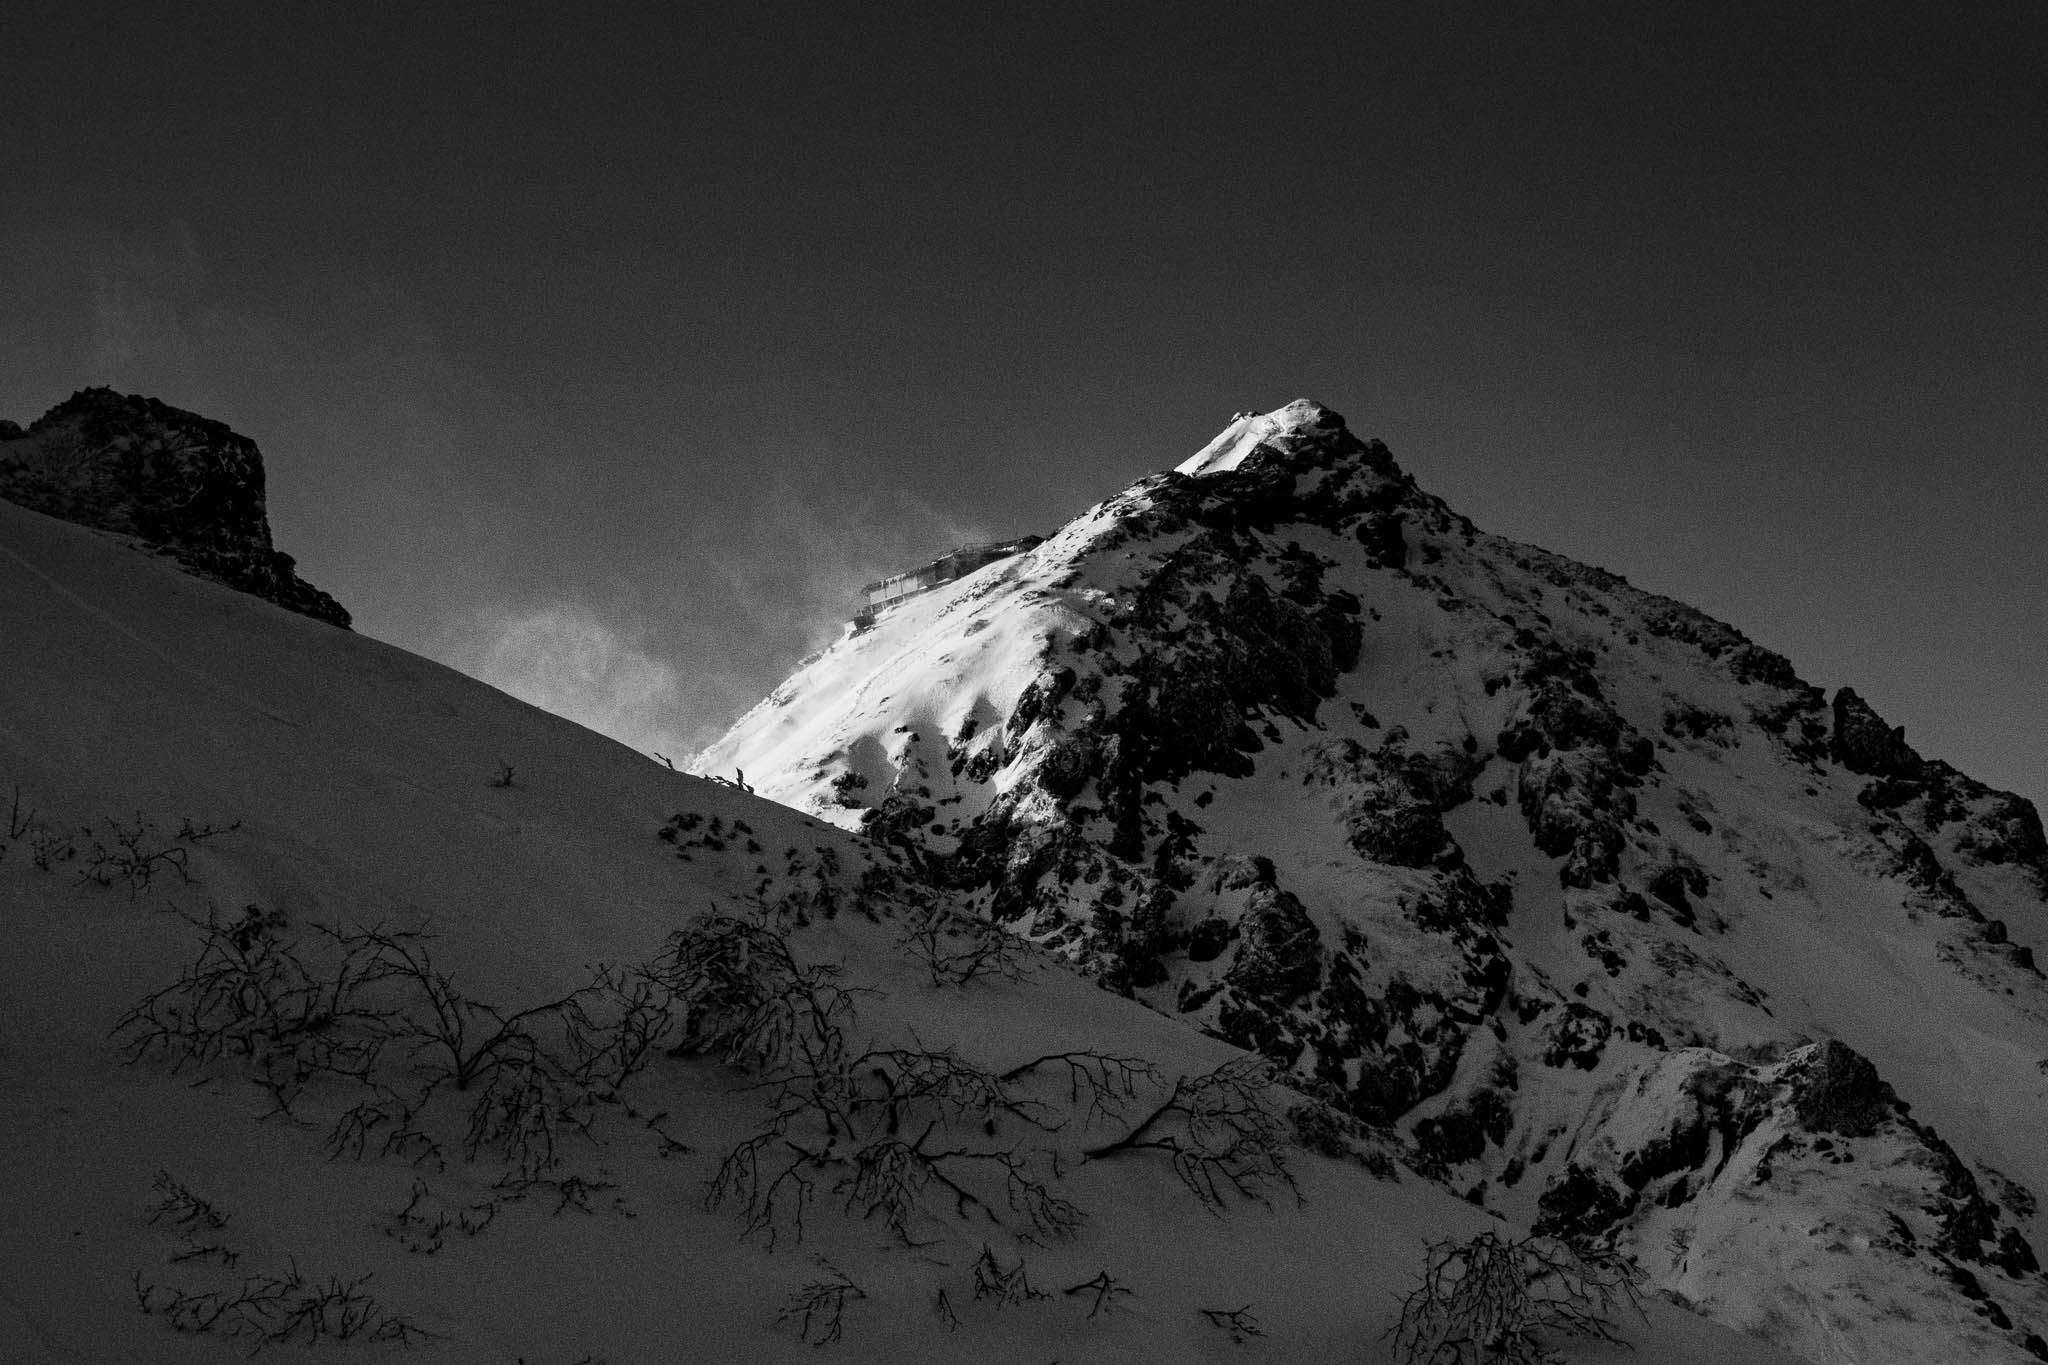
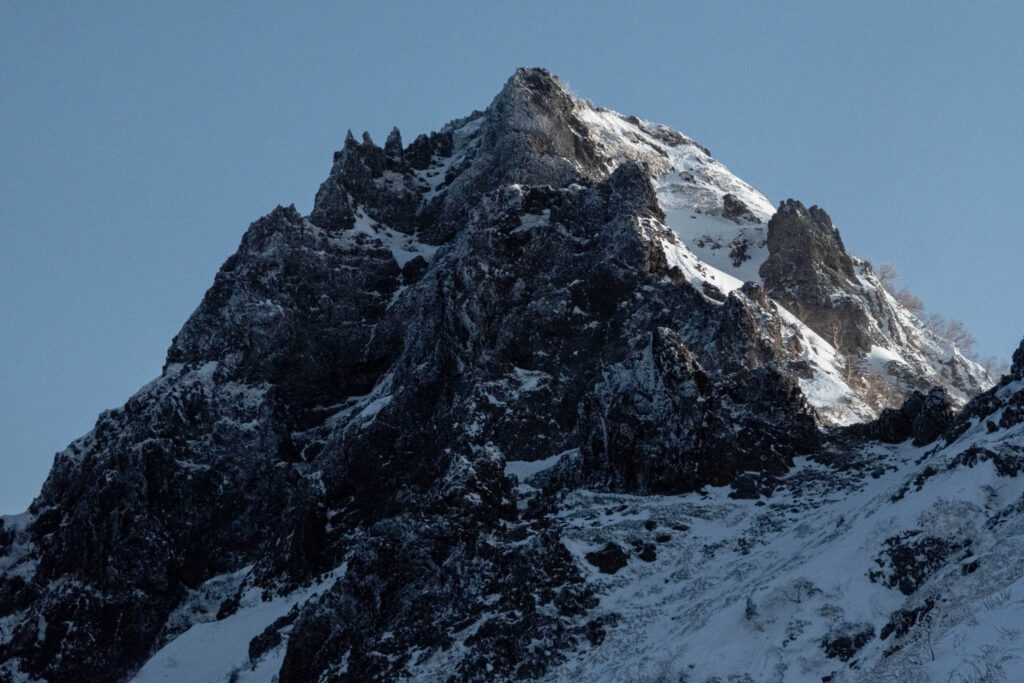
As soon I reached the basecamp the sun went down but not without giving a good 30 minutes good light, also the sky opened a bit from the clouds and I could take some shoot of the Daidoshin and the overall area.
The mighty Daidoshin pinnacle submerged in the myst
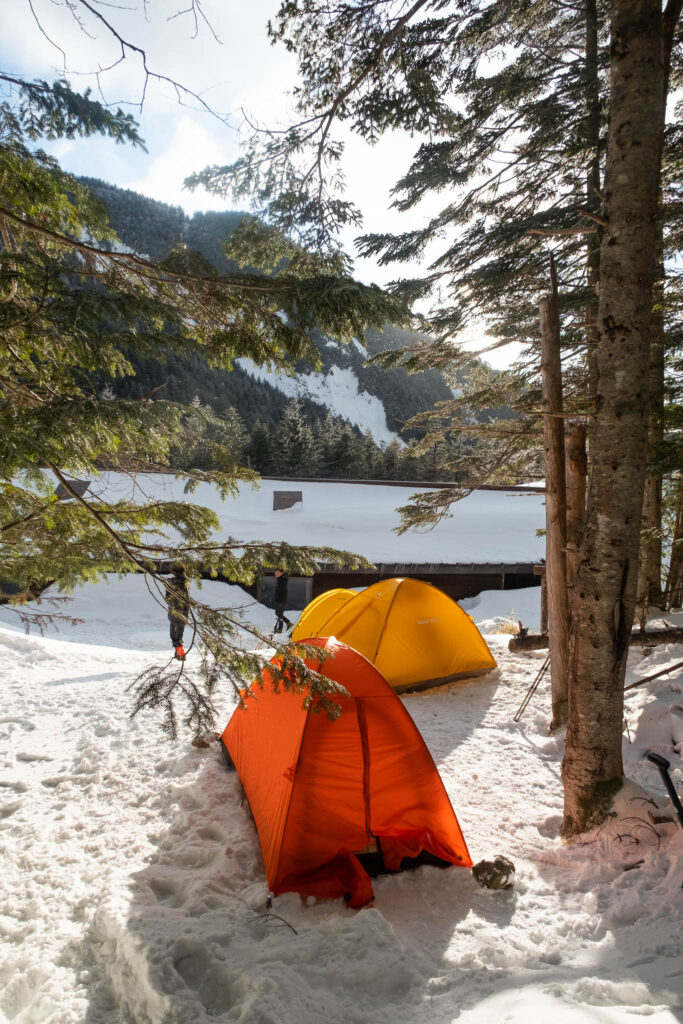
Camping in Akadake Kousen is always comfortable since it`s the only hut that provides water to the people with a tent (Usually free water is only of people who stay in the hut), this means a lot cause the alternative is melting snow, bummer.
The night is warm and I felt the necessity to remove my down jacket. Negative 5 degree celsius in nothing compared to -15 i slept one month ago in the same spot.
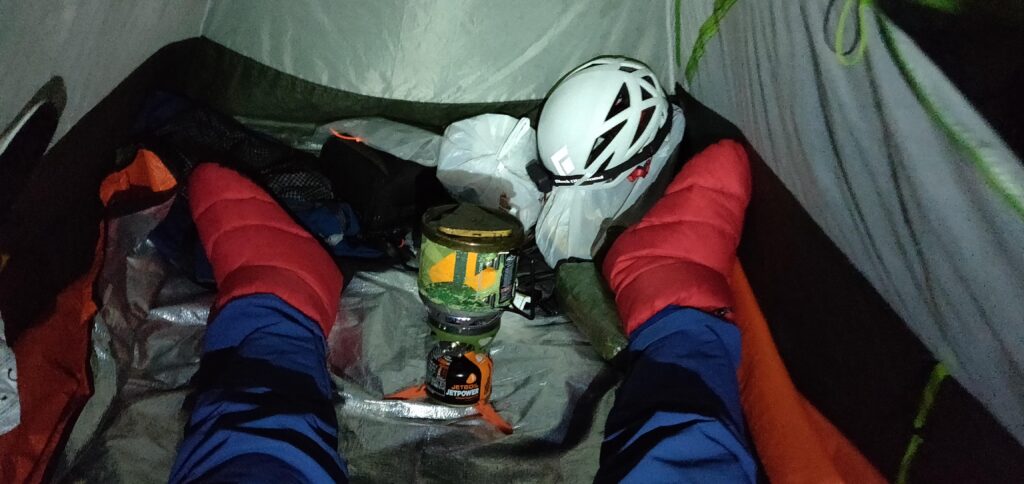
Cooking dinner
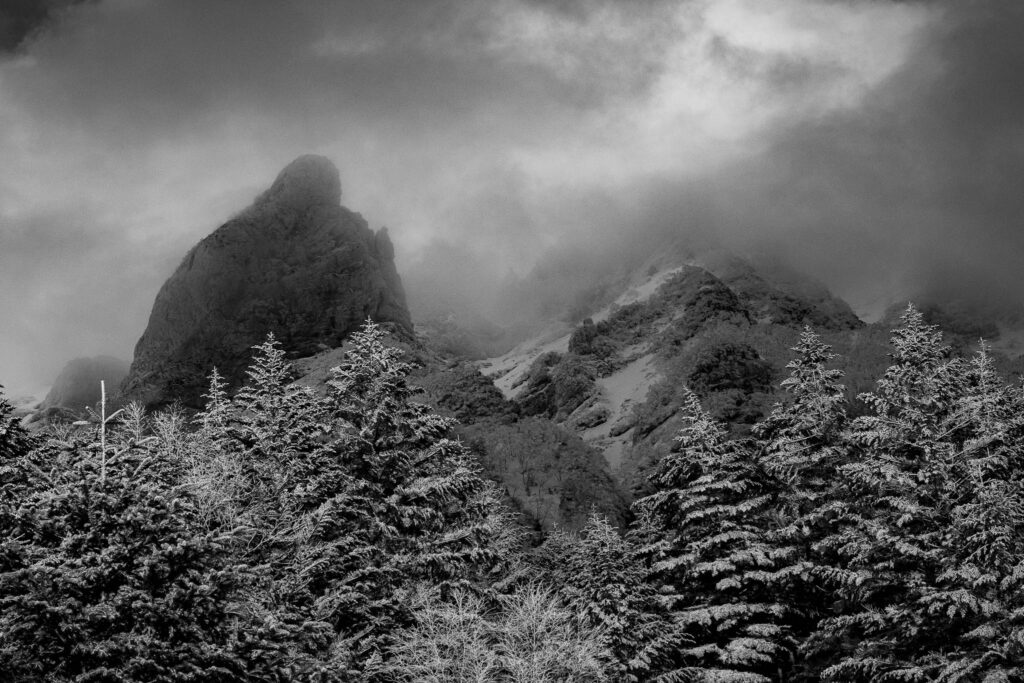
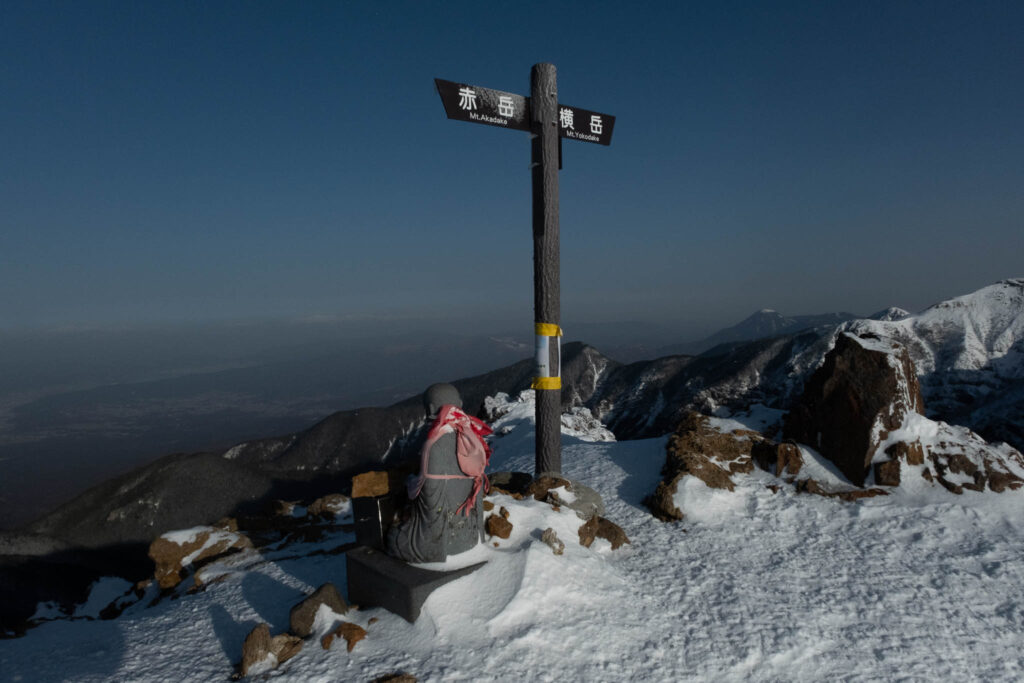
"Ioudake getting illuminated" taken from Jizo ridge. Fujifilm X-T2 16-80mm f4
The alarm ring at 3:30. My plan was to leave my tent around 4:00 in order to get on top of the ridge around 5:30.
At 6:00 I`m still on the Jizo ridge trail that this time is very icy and unbroken.
I think in the last couple of days nobody climbed up this trail, thing that is very weird since its a very popular trail in winter. The day was supposed to be super clear and also extremely windy, the plan was to cross towards Mt.Yoko, take some pictures, scout for the rappelling line (a variation in the plan was to rappel from Yoko with a light rope).
Trail to Yoko from Jizo ridge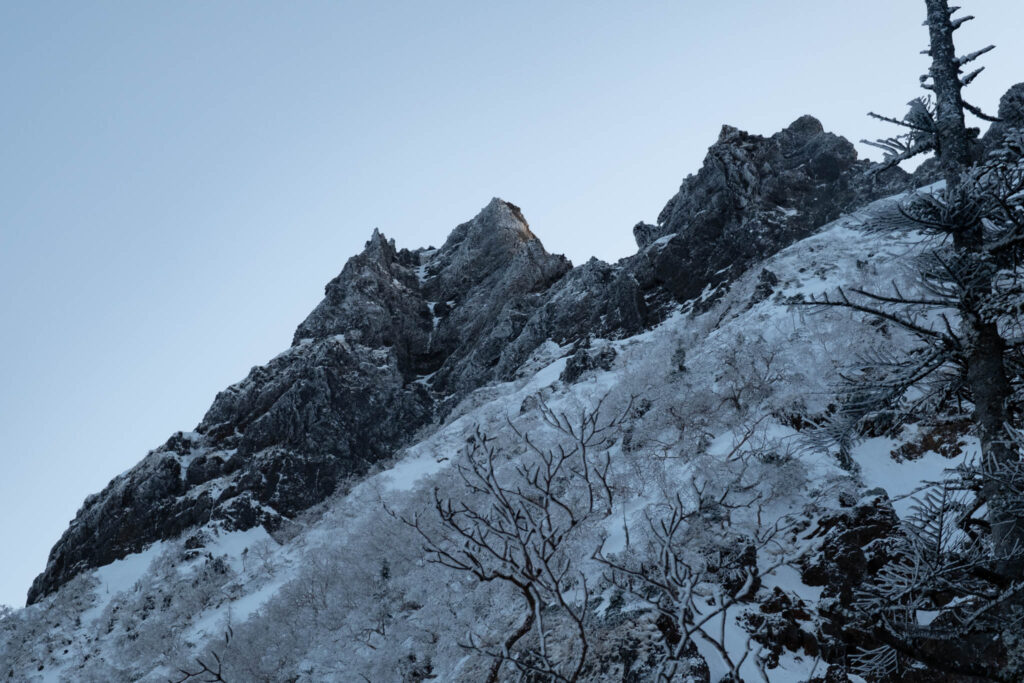
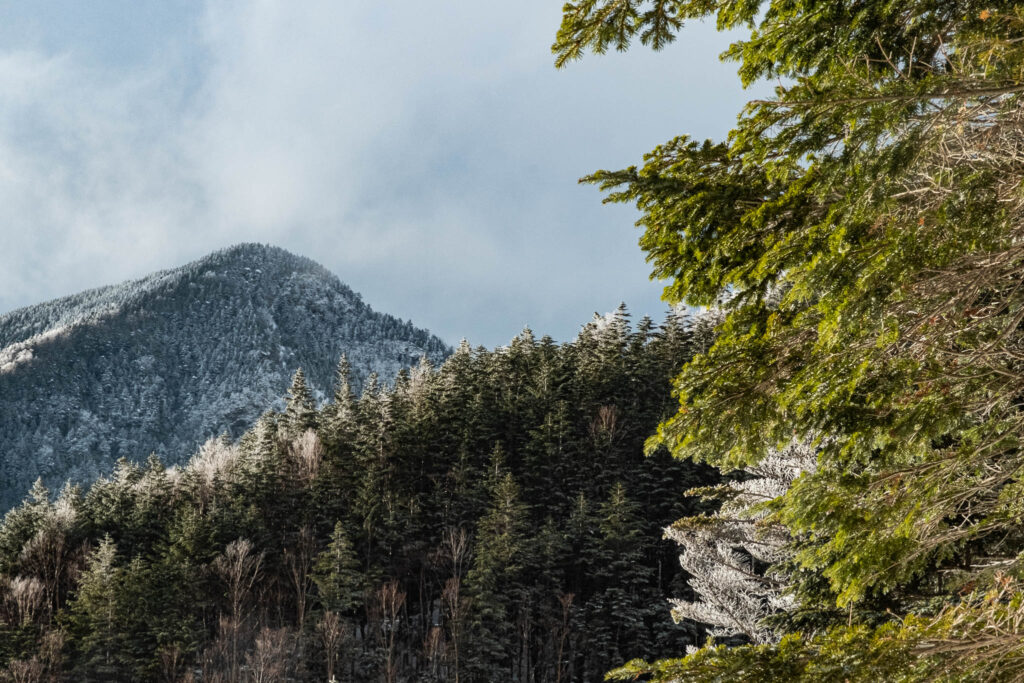
Sunlight on Mt.Yoko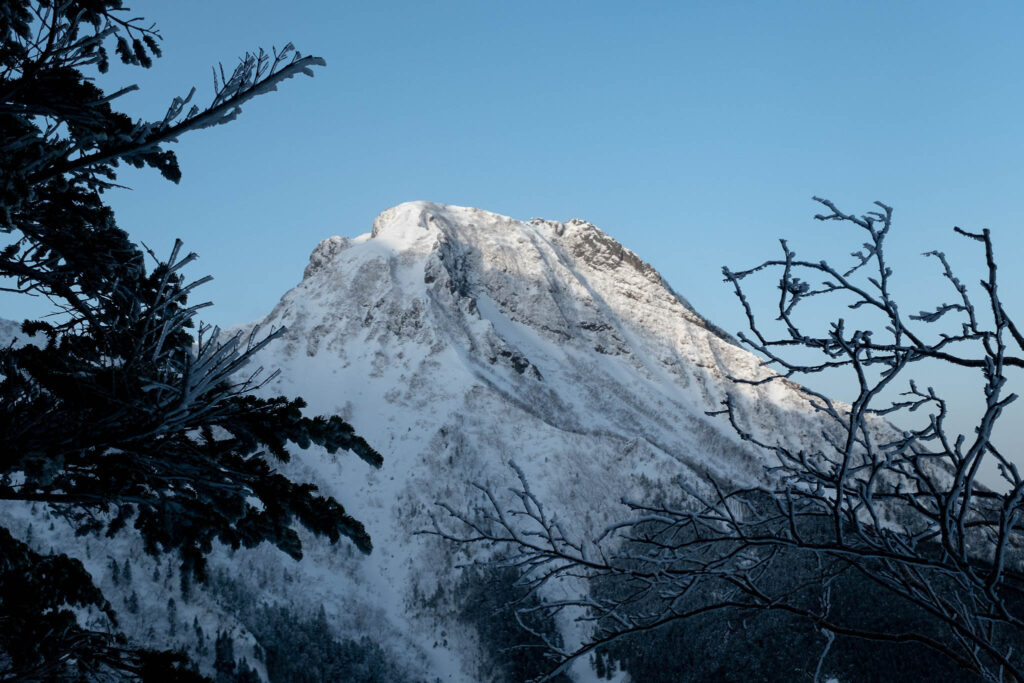
Mt.Amida also gets some sunlight!As soon I get on the ridge I change my plan. The wind is very strong and I struggle to stand still.
Top of the Jizo ridge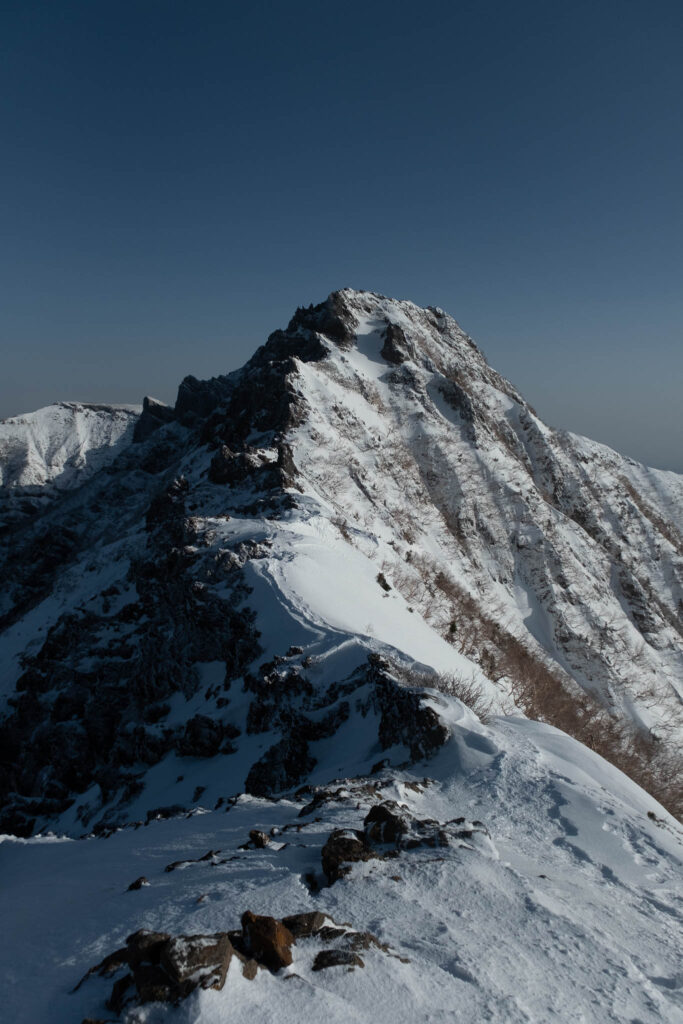
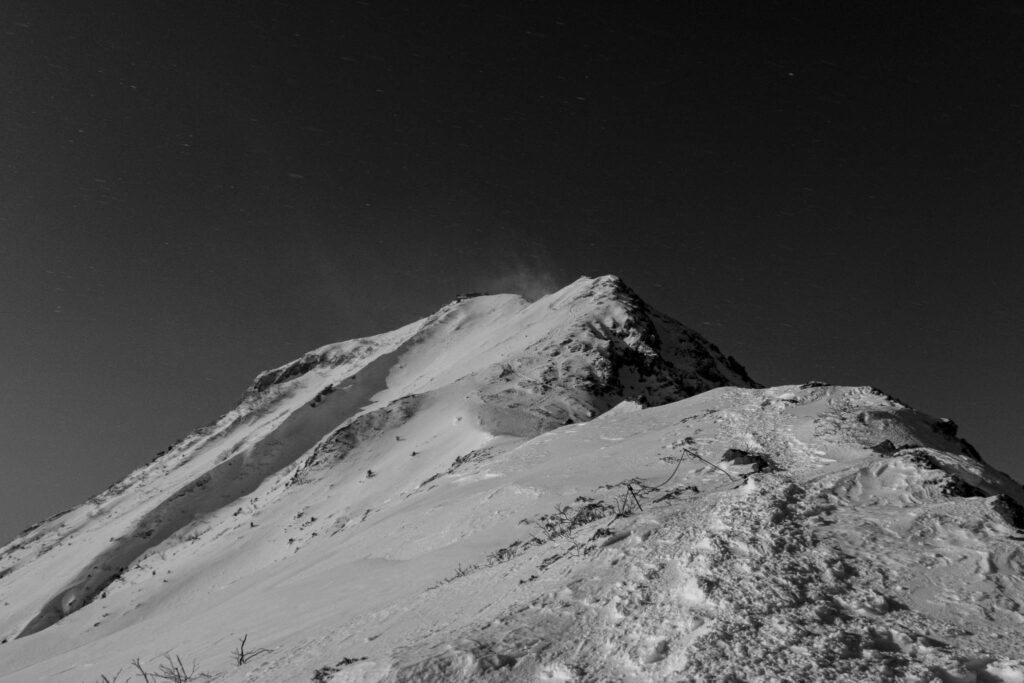
The path toward Mt.YokoI decide to give up the plan. Traversing toward the Yoko with this strong wind won`t be nice and I originally came here to have fun taking pictures.
So I turn my back to Mt.Yoko and start going up the Aka, a trail I did many times in way worst conditions that today.
Towards the AkaGoing up to Aka is a short trek, about 1 hour to get on the top from Jizo, with this strong wind took me a few minutes more. I decide to leave the summit after a few pictures, I've been here so many times.
Descending from Bunzaburo ridge reveals to be more challenging than usual, the patch is very icy, and the wind now is peeking up extremely strong. I even need to downclimb a few iced vertical steps. I'm glad in the end I managed to have a little fun even on the normal route like this one.
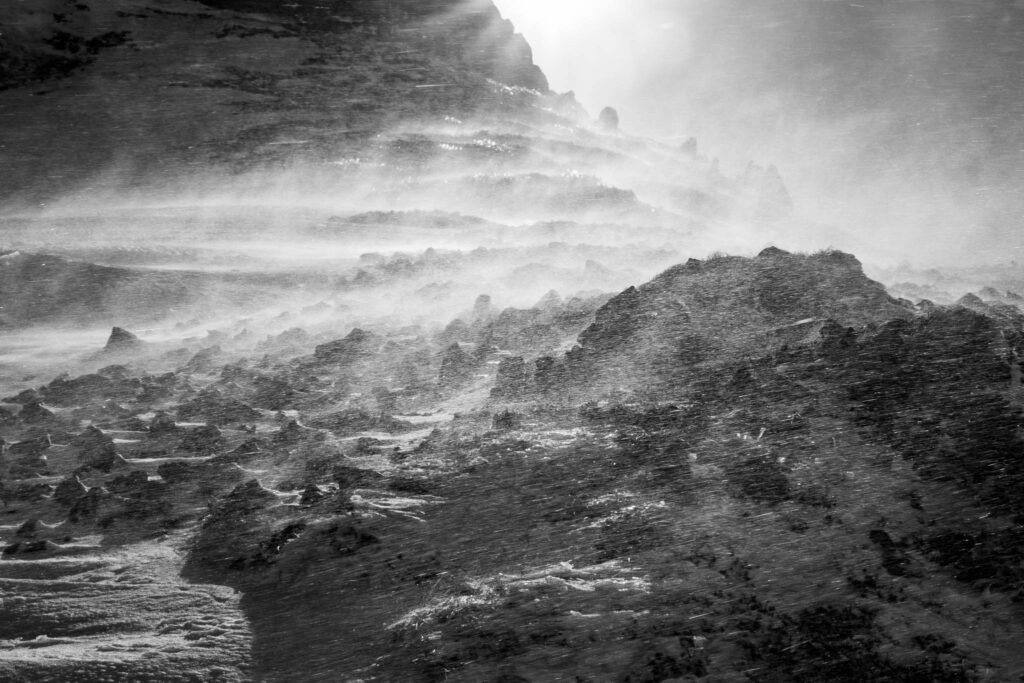
Wind peek up in the descent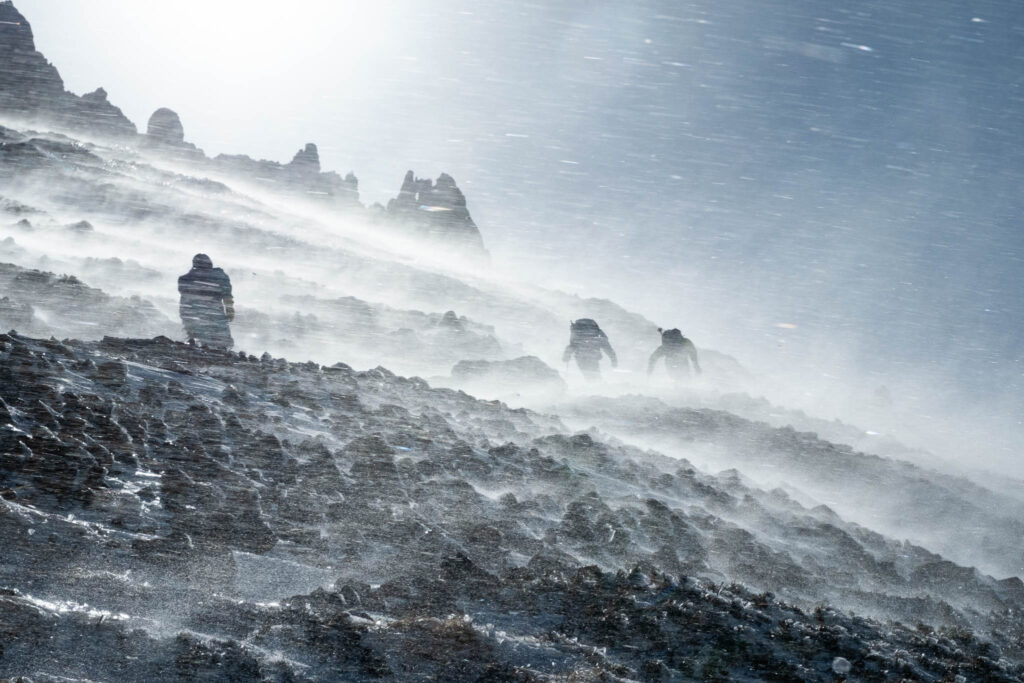
Trekkers fighting against the wind In the end, I arrive at my tent around 10:00, time to rest a bit, and pack everything I leave the Kousen Hut around 11:30.
The bus at trailhead won't leaves before 14:30, good news so I can have a nice lunch in the Yatsugatake Hut with some greasy Katsudon and a beer.
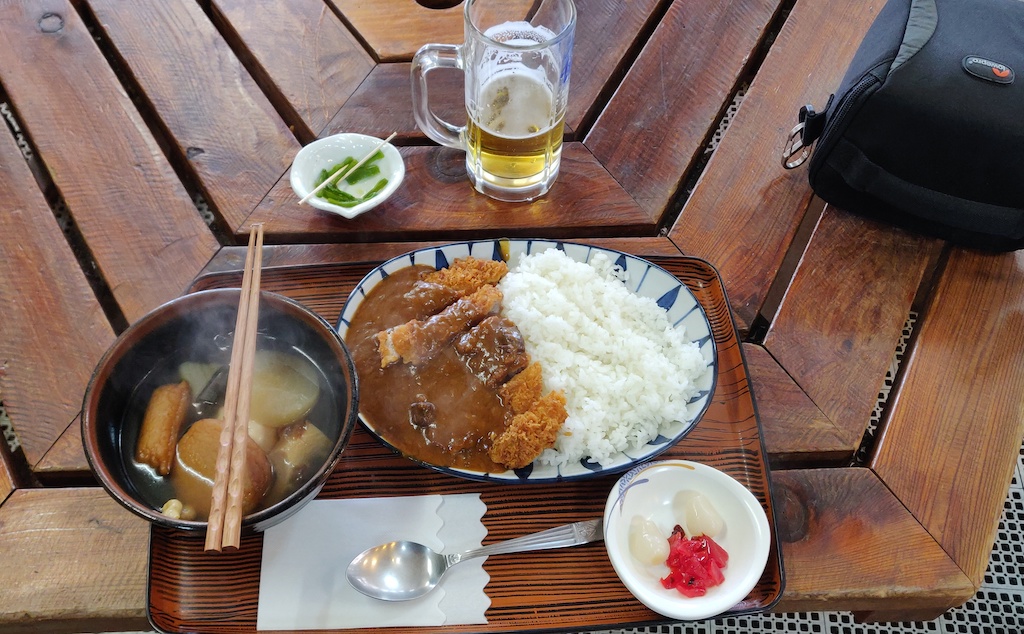
Itadakimasu!Thanks for reading.
No comments.